Before you begin any Google Ads campaign it is essential that you identify your conversion goals. Setting up conversion tracking in Google Ads allows you to measure the effectiveness of your campaign and optimize your efforts.
![]()
What Is Conversion Tracking:
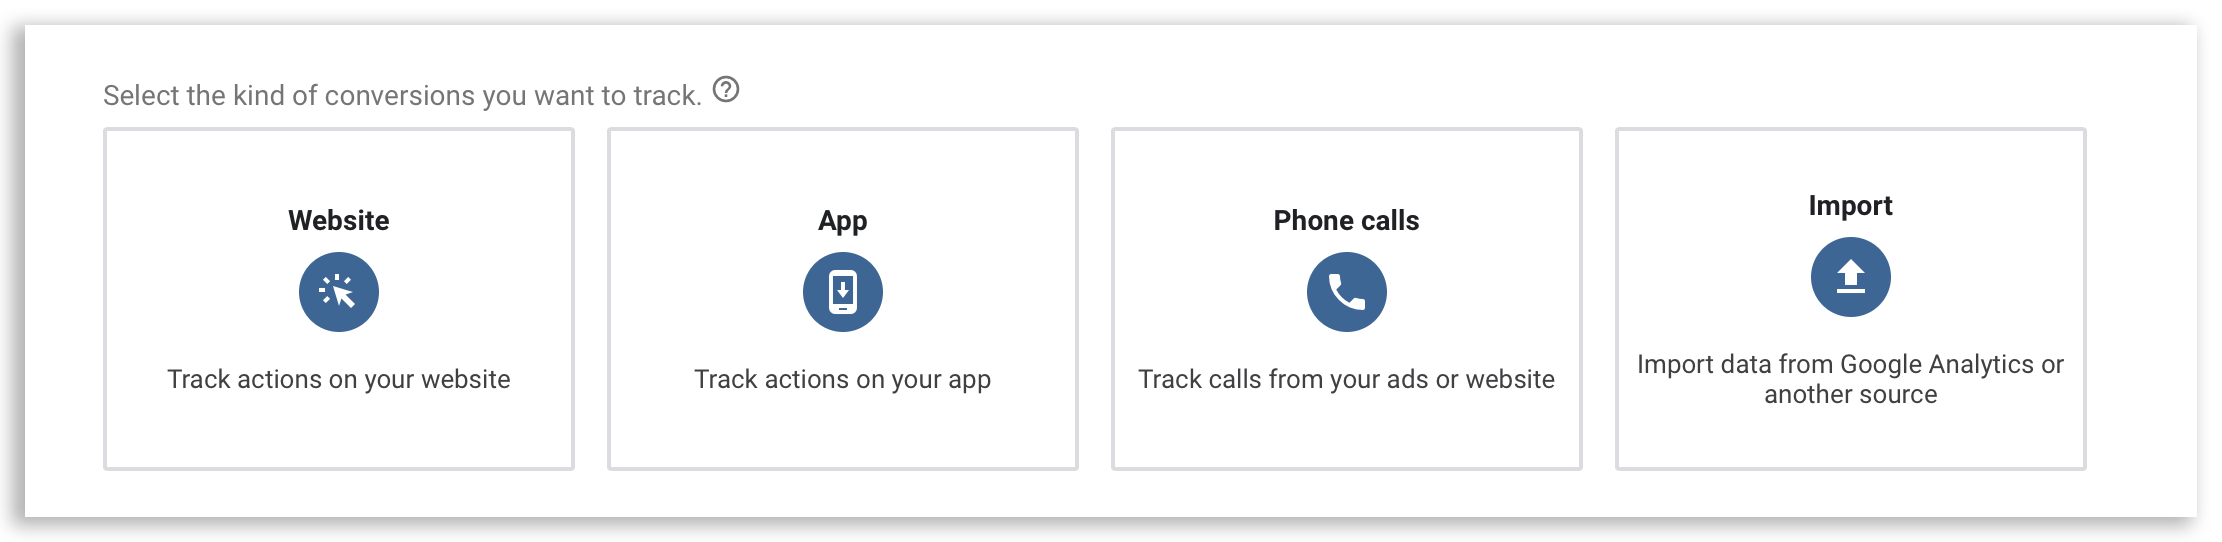
When you run ad campaigns it is important to see which clicks led customers to take action. In Google Ads, there are four kinds of conversions you can track:
- Website: Track actions on your website
- App: Track actions on your app
- Phone Calls: Track calls from your ads or website
- Import: Import data from Google Analytics or another source
Why Use Conversion Tracking?
- Measure the effectiveness of your campaign
- Understand which ads are most effective
- Gain valuable insights into which Adgroups, Geographic Areas, Keywords, Times of Day, etc.. are producing the most results.
- Optimize your Creative, Targeting, and Landing Pages.
How to Set Up Google Ads Conversion Tracking:
Follow these steps to set up Google Ads Conversion Tracking:
- Create or sign in to a Google Ads account.
- Navigate to Tools & Settings > Conversions (Under Measurement).
- Press the + button to start tracking conversions. Select the kind of conversion you want to track below:
Website:
- Select the action you’d like to track.
- Name your conversion.
- Assign a value to your conversion. If you are tracking leads, sign-ups, or page views then simply assign the same value (1) to each conversion.
- Select how many conversions to count per click / interaction. If someone clicks on your ad and performs multiple conversions you can decide whether to count each one or just consider that one conversion.
- Set the Click-through conversion window. This will allow you to track conversions that may not occur until days after the ad click.
- Set the View-through conversion window. This helps track users that saw your ad, didn’t click, but ended up converting.
- Decide whether you want to include this action in “Conversions”. If you select this box then your conversion count will appear in reporting & allow you to optimize for conversions.
- Set the Attribution Model. This determines the amount of credit each click should receive for each conversion.
Set Up The Tag on your website:
- Install The Tag Yourself: If you have access to your website’s code, you can follow the instructions to add the tag yourself.
- Email The Tag to your webmaster
- Use Google Tag Manager: If you have already installed Google Tag Manager this is typically the best way to go.
App:
You can import your conversion actions from Google Firebase, Google Play, or a third-party analytics platform that your app developer is using.
Phone Calls:
Select the source of the phone calls you’d like to track
-
Calls from ads using call extensions or call-only ads
- Name your conversion.
- Assign a value to your conversion.
- Select how many conversions to count per click or interaction.
- Set the minimum length a call needs to last in order to count as a conversion.
- Set the Click-through conversion window.
- Decide whether you want to include this action in “Conversions”.
- Set the Attribution Model.
- Set up a call extension or call-only ad & they will be counted as conversions.
-
Calls to a phone number on your website
- Select the action you’d like to track.
- Name your conversion.
- Assign a value to your conversion.
- Select how many conversions to count per click or interaction.
- Set the minimum length a call needs to last in order to count as a conversion.
- Set the Click-through conversion window.
- Decide whether you want to include this action in “Conversions”.
- Set the Attribution Model.
- Follow the instructions to install the tag
-
Clicks on a number on your mobile website
- Select the action you’d like to track.
- Name your conversion.
- Assign a value to your conversion.
- Select how many conversions to count per click or interaction.
- Set the Click-through conversion window.
- Set the View-through conversion window.
- Decide whether you want to include this action in “Conversions”.
- Set the Attribution Model.
- Follow the instructions to install the tag
Import:
Select where you are importing the date from & follow prompts:
- Google Analytics (Import existing web conversions you set up)
- Google Analytics App + Web
- Third-Party app analytics
- Salesforce
- Other data sources or CRMs